How to Print and Assemble Your First Day of School Printables (Step-by-Step)
You’ve picked out the perfect first day of school printable — maybe a clean record page, maybe a colorful interview sheet, maybe a homeschool version with all the right prompts. Now what?
If this is your first time working with a digital printable, the process is simpler than it looks. Here’s exactly how to go from PDF download to a finished, ready-to-fill page in about ten minutes.
Step 1: Download and Open the PDF
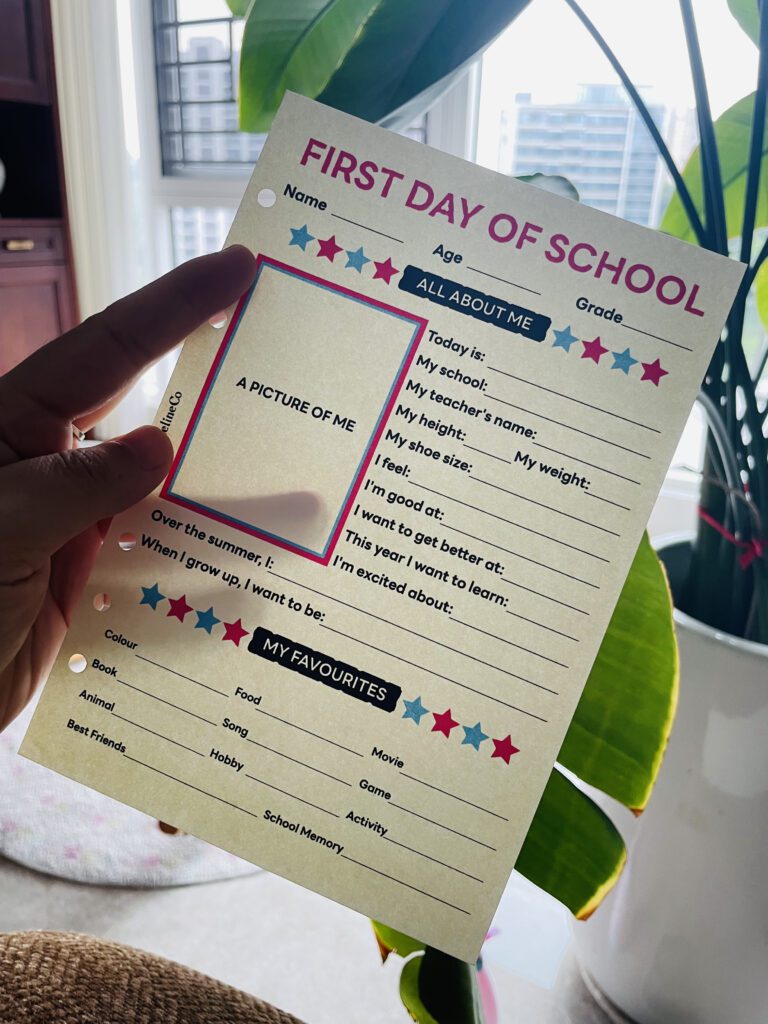
After purchase, you’ll receive a digital download link — save the PDF somewhere easy to find, like your desktop or a “Printables” folder. Open it with any standard PDF viewer (Adobe Acrobat Reader, Preview on Mac, or your browser’s built-in PDF viewer all work fine).
Take a moment to scroll through the whole file first. Most printable sets include multiple page designs or grade options in a single PDF, so you’ll want to know exactly which pages you actually need before you start printing.
Step 2: Check the Page Size — A4 vs. A5
This is the step most people skip, and it’s the one that causes the most printing headaches.
- A4 (210 × 297mm / 8.3 × 11.7in) fits standard printer paper in most countries outside the US, and works well if you want a full-page keepsake or plan to frame it.
- A5 (148 × 210mm / 5.8 × 8.3in) is half the size of A4 and fits standard ring binders and planners — ideal if you’re building an ongoing memory book.
📄 Paper
- Blank & Pre-Punched Refill Paper If you print often, pre-punched paper skips the hole-punching step entirely — load it straight from the printer into your binder. Useful for A5 and Personal-size systems especially, since the hole spacing is already matched to standard ring binders.
👉 A5 Blank Paper, 120 GSM, 6-Hole Punched
👉 A5 Blank Paper, 160 GSM, 6-Hole Punched
👉 A4 Sheets White Paper Textured 120gsm Suitable for Inkjet Printers
👉 A4 Blank Paper, 120 GSM
👉 Personal size 3.75” x 6.75” 100gsm Blank, 6 Holes Punched
👉 Personal size 3.75” x 6.75” 100gsm Blank, 6 Holes Punched
- A4 120gsm Color Paper (multiple colors, printer-safe) A heavier, slightly toothy stock that makes trackers and inserts feel more like a finished product than a plain printout — still thin enough to run through a standard home printer without jamming. If you want your pages to hold up to daily handling (or just want a pop of color across categories in your binder), this is the upgrade I’d make first.
👉 Coloured Paper Colour Mix DIN A4-120 g/m²
👉 100 Sheets Colored Cardstock, 50 Colors, 8.5×11, 120gsm/32lb
👉 8.5×11 Inch Colored Construction Paper, 32lb 120 GSM
👉 A4 120gsm, 100 Sheets
Before printing, open your printer settings and match the paper size to the printable’s actual size (not just “letter” or “default”). If your printable is A5 and your printer defaults to A4, your page will print oversized or get cropped.
Step 3: Set Your Printer to “Actual Size” (Not “Fit to Page”)
This is the single most important setting. Most print dialogs offer a scaling option — usually labeled “Fit to Page,” “Shrink to Fit,” or “Actual Size.”
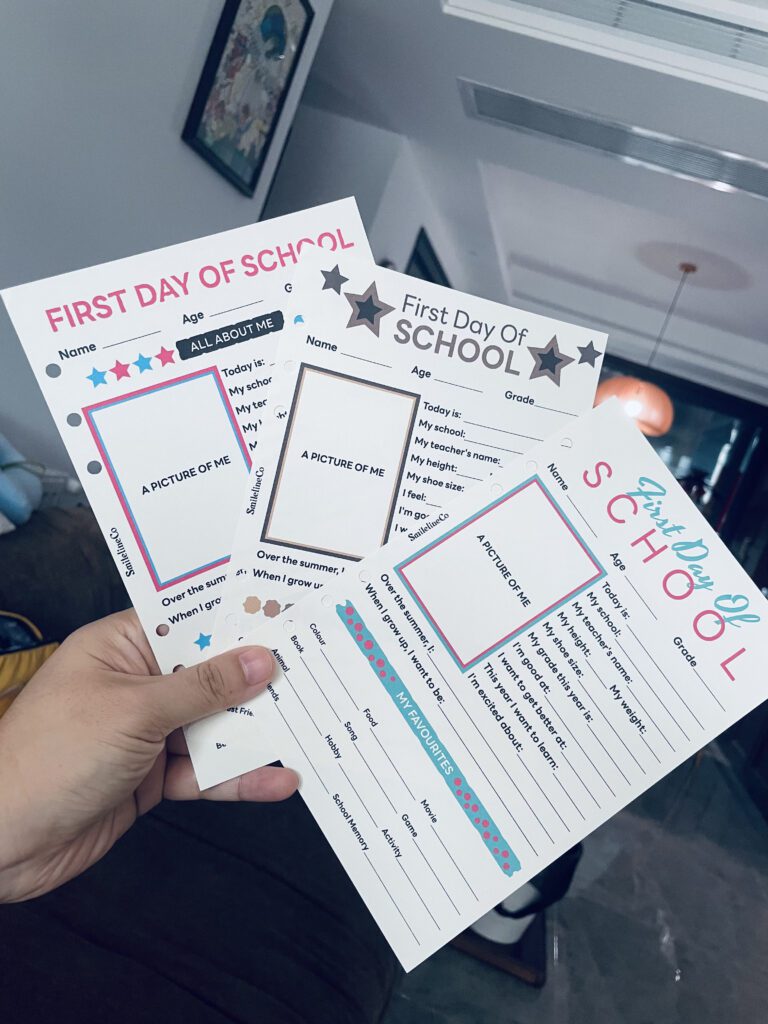
Always choose Actual Size (or 100% scale). “Fit to Page” will resize your printable to match whatever paper is loaded, which throws off carefully designed elements like photo frames — so your printed photo won’t actually fit the frame anymore.
🖨️ Printing
- Home Printer The printer I use for all of my printables, reliable enough for daily printing without breaking the bank.
👉Epson Expression Home XP-5200 Wireless All-in-One
👉Epson EcoTank ET-2800 Wireless Color All-in-One
👉Epson Expression Home XP-5100 Wireless Color Photo Printer
👉Canon PIXMA TS4320 Wireless Color Inkjet Printer
👉Canon PIXMA TS7720 Wireless All-in-One Color Inkjet
Step 4: Choose Your Paper
For most first day of school printables, a standard printer paper (24–32 lb / 90–120 gsm) works perfectly well and keeps the process affordable if you’re printing multiple pages per year, per child.
If you want something with a bit more durability — especially for a page that will live in a binder for years — a lightweight cardstock (65–80 lb) holds up better to handling and doesn’t show pen indentation from the back side.
Step 5: Print Double-Sided (If Your Set Supports It)
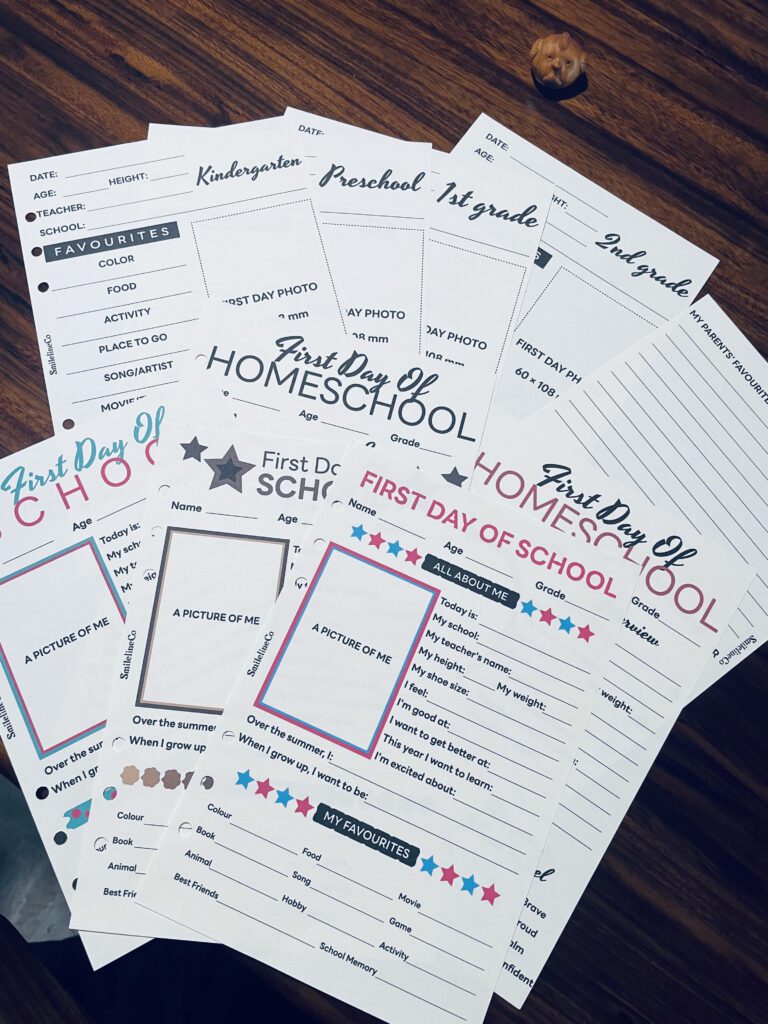
Many printable sets — including ours — are designed for 2-sided printing, meaning the record page and the memories/favourites page are meant to sit back-to-back on a single sheet.
To do this correctly:
- In your print settings, select “Print on Both Sides” or “Duplex Printing”
- Choose “Flip on Long Edge” (this is the standard setting for most portrait-oriented pages — check a test print first if you’re unsure)
- Print a single test page first before running the whole batch, to confirm the back page aligns correctly
If your printer doesn’t support duplex printing, you can print single-sided and simply print the second page on a separate sheet, then hold them together, tape them back-to-back, or slip them into opposite sides of a page protector.
Step 6: Fill In the Photo
For sets with a photo frame (like a “First Day Photo, 60×108mm” box), you have two options:
- Print the photo separately at the specified size (most drugstore or online photo printing services let you select custom dimensions) and glue or tape it into the frame
- Insert the photo digitally before printing, if you’re comfortable using basic photo editing or a PDF editor to layer the image into the frame before you print, this gives a cleaner, more integrated look
If you’re printing physical photos, a small glue stick or double-sided tape works better than liquid glue, which can wrinkle thinner paper.
Step 7: Assemble and Store
Once printed, here’s how to keep everything organized long-term:
- Punch holes if your printable includes hole-punch margins (standard on most A5 designs) and store it in a 3-ring binder, one page per school year
- Use page protectors if you want extra durability, especially for pages with glued-in photos
- Label each page with the year on the spine or a divider tab, so flipping back through years later is easy
📓 Storage
- A5 or Personal-Size Ring Binder Once your pages are trimmed and punched, this is where they live.
👉A5 Binder Refillable Planner
👉A5 Rings Planner
👉A5 Leather Binder Notebook
👉A6 Binder
👉A6 Vintage Leather Journal
A Few Troubleshooting Tips
- Colors look washed out? Check that your printer is set to “Best” or “High Quality” print mode, not “Draft” or “Economy.”
- Text looks blurry? Make sure you’re printing directly from the PDF, not a screenshot or a re-saved image version, which loses resolution.
- Page is slightly cropped? Double-check your printer’s margin settings, some printers default to a small “no-print zone” around the edges that can cut off borders on a full-bleed design.
That’s really all there is to it. Once you’ve printed your first page, the whole process takes just a few minutes each year, and you’ll have a growing stack of first day of school memories that only gets more meaningful with every new page.
Looking for More Systems Like This?
A first day of school photo is a great place to start, but it’s really just the opening page. Once the ritual sticks, it’s natural to want a whole system around it — birthdays, milestones, the little things your kids say — instead of scrambling to capture each moment separately as it happens.
Better systems, better days — that’s the whole idea behind SmilelineCo.
Looking for more free printables? Browse the [Free Printables Library →] for every free download we offer, new pages added regularly.
Want a full planning system instead of a standalone checklist? The [Complete Systems →] collection bundles pages like this one into something bigger, designed to work together across your whole routine — and you can browse everything directly in our [Shop →].
Setting up your own printing station? Our [Printing & Planner Supplies →] page has the exact printer, paper, and tools we use to go from PDF to finished page.