Printing & Planner Supplies | Everything We Use to Go From PDF to Finished Page
Hi, welcome. 👋
A lot of people ask what I actually use to go from a downloaded PDF to a finished, trimmed, hole-punched page in my binder, so I put together this page to answer that once, in one place.
Everything here is something I personally use in my own printing setup, whether I’m putting together a free printable or one of the full Smile Systems. I’ve organized it by step, in the same order I actually work through it: print, trim, punch, and store — plus a paper section, since the right stock makes a bigger difference than most people expect.Everything here is something I personally use in my own printing setup, whether I’m putting together a free printable or one of the full Smile Systems. I’ve organized it by step, in the same order I actually work through it: print, trim, punch, and store.
Note: some of the links below are affiliate links, which means I may earn a small commission if you purchase through them — at no extra cost to you. I only recommend tools I actually use myself.
🖨️ Printing
- Home Printer The printer I use for all of my printables, reliable enough for daily printing without breaking the bank.
👉Epson Expression Home XP-5200 Wireless All-in-One
👉Epson EcoTank ET-2800 Wireless Color All-in-One
👉Epson Expression Home XP-5100 Wireless Color Photo Printer
👉Canon PIXMA TS4320 Wireless Color Inkjet Printer
👉Canon PIXMA TS7720 Wireless All-in-One Color Inkjet
📄 Paper
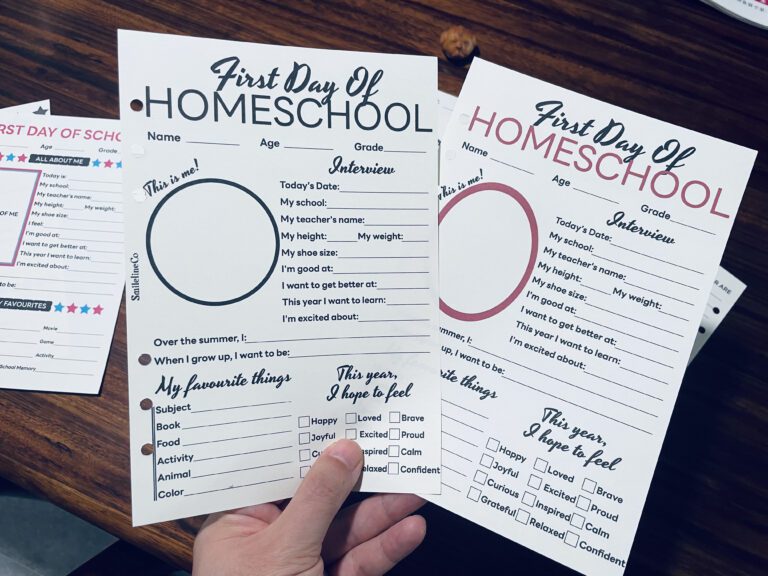
- Blank & Pre-Punched Refill Paper If you print often, pre-punched paper skips the hole-punching step entirely — load it straight from the printer into your binder. Useful for A5 and Personal-size systems especially, since the hole spacing is already matched to standard ring binders.
👉 A5 Blank Paper, 120 GSM, 6-Hole Punched
👉 A5 Blank Paper, 160 GSM, 6-Hole Punched
👉 A4 Sheets White Paper Textured 120gsm Suitable for Inkjet Printers
👉 A4 Blank Paper, 120 GSM
👉 Personal size 3.75” x 6.75” 100gsm Blank, 6 Holes Punched
👉 Personal size 3.75” x 6.75” 100gsm Blank, 6 Holes Punched
- A4 120gsm Color Paper (multiple colors, printer-safe) A heavier, slightly toothy stock that makes trackers and inserts feel more like a finished product than a plain printout — still thin enough to run through a standard home printer without jamming. If you want your pages to hold up to daily handling (or just want a pop of color across categories in your binder), this is the upgrade I’d make first.
👉 Coloured Paper Colour Mix DIN A4-120 g/m²
👉 100 Sheets Colored Cardstock, 50 Colors, 8.5×11, 120gsm/32lb
👉 8.5×11 Inch Colored Construction Paper, 32lb 120 GSM
👉 A4 120gsm, 100 Sheets
✂️ Trimming
- Craft Knife / Precision Cutter For clean, straight cuts along grid lines, much more precise than scissors.
👉Hobby Knife Set – 1pc
👉Finger Knife Set
👉Hobby Knife Set – 12pc
👉Knife With Safety Cap, Sharp, Durable, Precision Knife, 1 Count
- Stainless Steel Ruler A metal straight edge keeps your knife from drifting and gives you a true, sharp cut every time.
👉Metal Straight Edge Ruler, 4 pcs, 6″, 8″, 12″, 14″
👉Ruler Metal Straight Edge Stainless Steel Ruler 16 Inch Ruler Set
👉Metal Straight Edge Ruler, 6 pcs, 6″, 8″, 10″, 12″, 14″, 16″
👉Metal Straight Edge Ruler Stainless Steel Ruler 6 Inch 12 Inch 16 Inch Ruler Set
- Self-Healing Cutting Mat Protects your table and keeps your blade sharp longer, essential if you’re trimming printables regularly.
👉Self Healing Sewing Mat
👉Self Healing Cutting Mat, A3 Rotary Cutting Sewing
👉Self-Healing Cutting Mat A4, 220x300mm
👉Self Healing Cutting Mat, 23″ x 35″
🕳️ Hole Punching
- 6-Ring / A5 Disc Hole Punch Sized to match Personal and A5 ring or discbound systems — double check your binder’s ring spacing before buying, since Filofax-style punches differ from standard A5 systems.
👉Paper Puncher for A5 Size Six Ring Binder Planners
👉6-Hole Paper Puncher, A5 A6 A7 6 Ring Punch with Positioning Mark
👉Metal Adjustable 6 Hole Punch for A5 A6 A7 Binders/Planners
👉Adjustable 6 Hole Punch Mini/Pocket A3/ A4 / A5 / A6
📓 Storage
- A5 or Personal-Size Ring Binder Once your pages are trimmed and punched, this is where they live.
👉A5 Binder Refillable Planner
👉A5 Rings Planner
👉A5 Leather Binder Notebook
👉A6 Binder
👉A6 Vintage Leather Journal
If you want the fastest path, pre-punched A5 or Personal-size paper lets you skip trimming and punching entirely, print your PDF directly onto it and it’s ready for your binder. If you’re printing on standard paper and cutting down to size yourself, ruler and cutting mat are the two I’d prioritize first, they make the biggest difference in how clean your edges turn out.
Looking for the printables themselves? Start with our free printables Library to try the format, browse the full complete systems for a set of pages built to work together, or head straight to the Shop to see everything in one place.